
Designing emails with Zeffy’s email builder and templates
Use the email builder to design, edit, and send professional emails in Zeffy. This guide covers everything from creating your first email to using templates and formatting options.
Open the email builder
Go to Communications.
Click New Email.
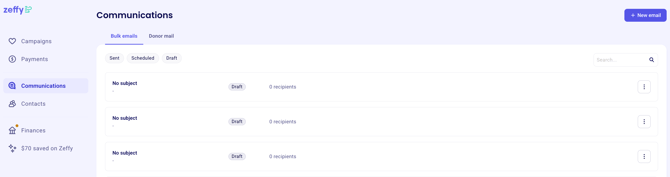
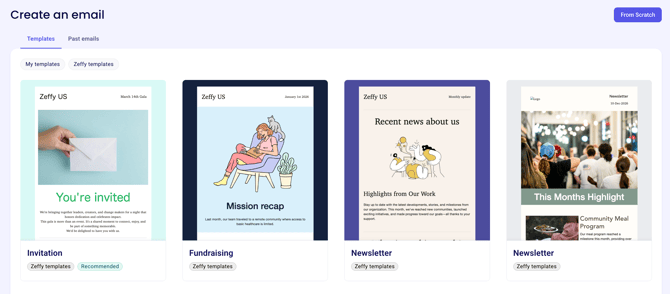
Choose a template or start from scratch.
The builder opens with a visual editor where you can create and update your email layout.
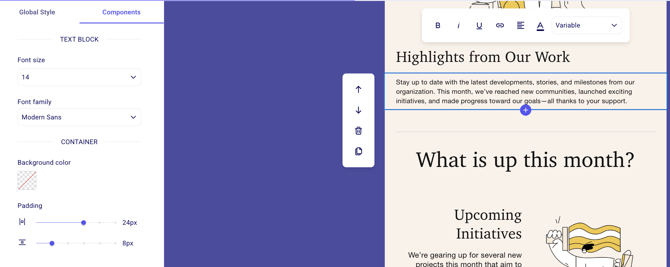
Navigate the email builder
The email builder has two main areas:
Email canvas — Displays the layout of your email. Toggle between desktop and mobile views to check the layout.
Side panel — Shows editing options based on what you have selected. Switch between component settings (for individual blocks) and global styles (for the entire email).
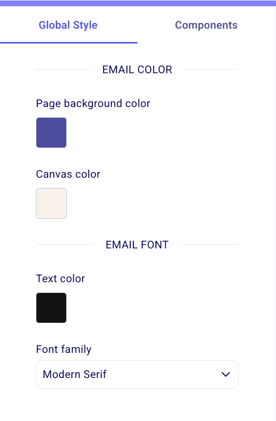
Apply branding with global styles
Use Global styles to update colors and visual settings across the entire email. This is the fastest way to keep your emails consistent with your organization's branding.
From the Global styles panel, you can edit:
Email background color
Canvas color
Default text color
Changes to global styles apply to all relevant elements in the email. Individual blocks can still be customized using component settings.
Add and arrange content blocks
Use the plus (+) icon to add blocks to your email.
Hover over the section where you want to add content.
Click the plus (+) icon that appears below the container.
Select a block type from the list.
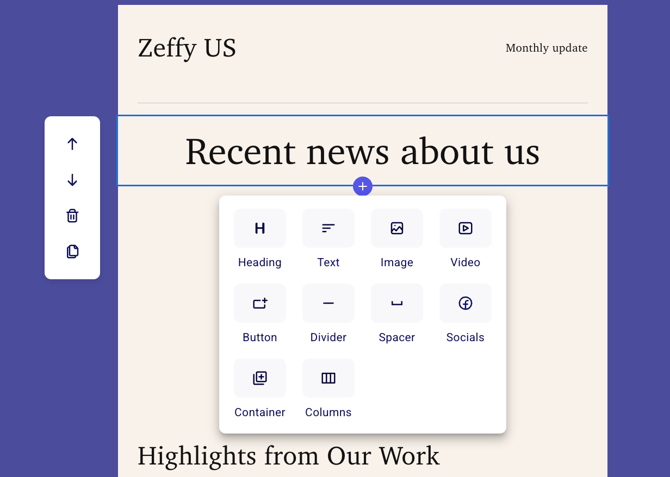
Available content blocks include:
Heading
Text
Image
Video
Button
Divider
Spacer
Social media icons
Container
Columns
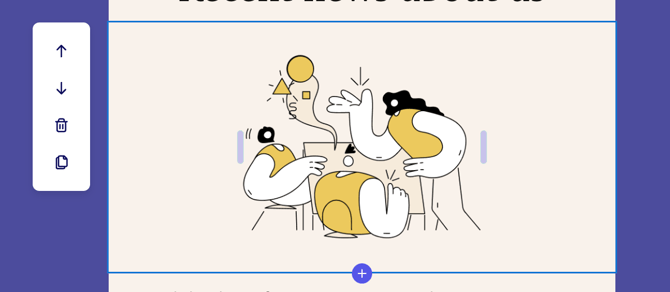
Move, duplicate, and delete blocks
Each content block has controls that appear when you hover over it.
Move — Drag blocks up or down using the arrow icons
Delete — Remove blocks with the trash icon
Duplicate — Copy blocks with the clone icon
Edit text and headings
Click directly on a text or heading block to edit it.
From the component settings panel, you can:
Change heading or font size
Select a font family
Adjust container background color
Modify padding
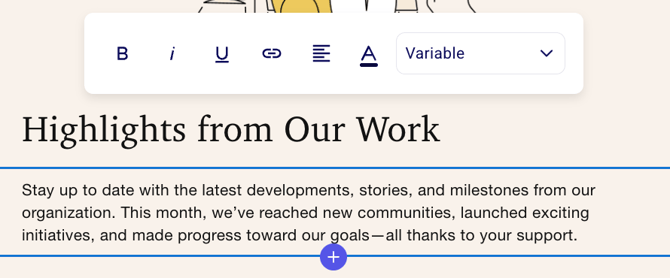
Text formatting options appear directly in the canvas when you click on text:
Bold, italic, underline
Text alignment
Text color
Links (make text clickable)
Personalization variables (first name, last name)
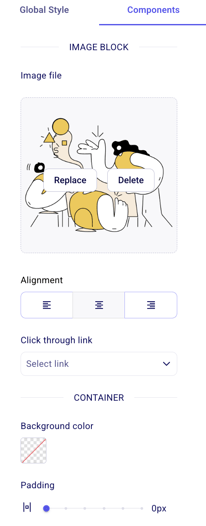
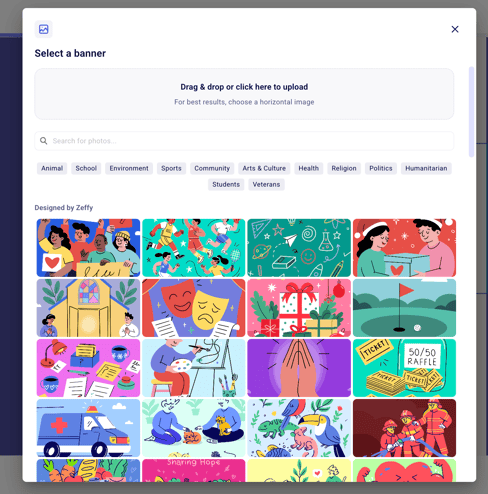
Edit images
To edit an image block:
Click on the image block.
Select Replace image if an image already exists.
You can then:
Choose an image from Zeffy's image library
Upload your own image by dragging and dropping or clicking to browse
Add columns
Columns let you display content side by side.
Click the plus (+) icon.
Select Columns.
Add content blocks inside each column.

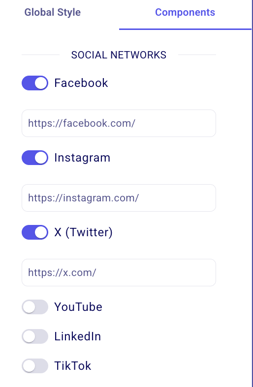
Add social media icons
To add social media icons:
Add a Social media icons block.
Click the block to open component settings.
From the Components menu you can:
Toggle individual platforms on or off
Add links to each social media page
Choose an icon style (black, white, color)
Set a background color for the container
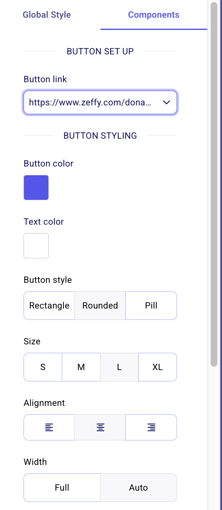
Add and customize buttons
To add a button:
Add a Button block.
Click the button to open component settings.
From the Components menu you can:
Link to a Zeffy campaign or add a custom link
Customize button color, text color, shape, and size
Set alignment within the block
Use dividers and spacers
Dividers and spacers help structure your email visually:
Dividers — Add a horizontal line between sections
Spacers — Add blank space between content blocks
Add personalization with variables
Use variables to personalize each email with recipient details.
Click inside a text block where you want to add personalization.
Click Variables to see available options.
Choose First name or Last name to insert the variable.
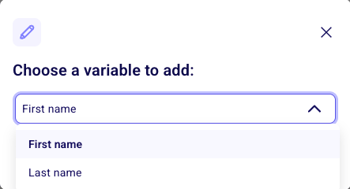
When the email is sent, each recipient sees their own name in place of the variable.
Check mobile optimization
Preview how your email looks on mobile devices before sending.
Click the mobile preview icon in the builder.
Review the layout on a smaller screen.
Adjust text size, image placement, or button sizes if needed.
Zeffy form links and automatic personalization
When you include a Zeffy form link in an email created with the builder, Zeffy automatically appends each recipient's information—such as name, email address, and mailing address—to every Zeffy link. This means donors are recognized when they click through and can complete their donation or registration more quickly. No additional setup is required.
Use templates
Start from a template
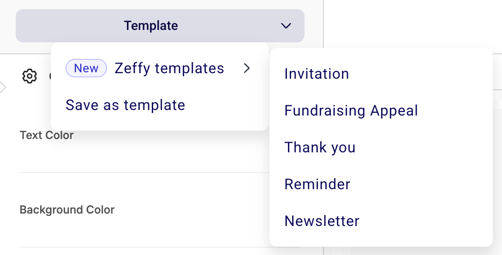
When you create a new email, choose Template to browse pre-designed options.
Click Template in the email builder.
Select Zeffy templates to see built-in designs for newsletters, fundraising appeals, event recaps, invitations, and follow-ups.
Choose a template and customize it for your message.
Save an email as a template
Turn any email design into a reusable template.
Design your email in the builder.
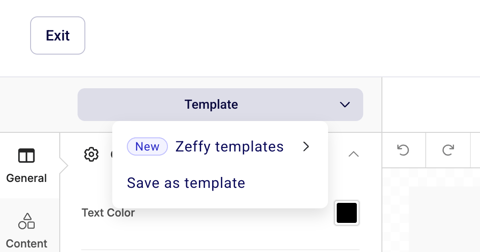
Click the Template button in the editor toolbar.
Choose Save as template.
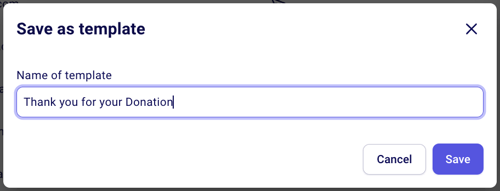
Enter a name for the template and save.
Use a saved template
Reuse templates you created for consistent messaging.
Open the email builder.
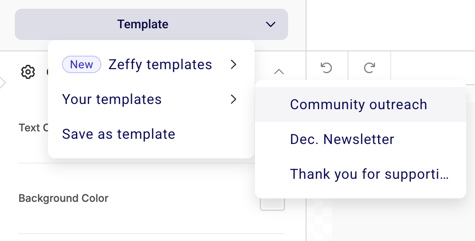
Click Template.
Select Your templates to see your saved designs.
Choose a template to apply it to your new email.
After applying a template, you can still customize the email before sending.
Edit a template
Start a new email and apply the template you want to edit.
Make your changes to the design.
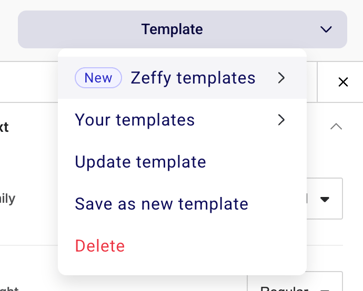
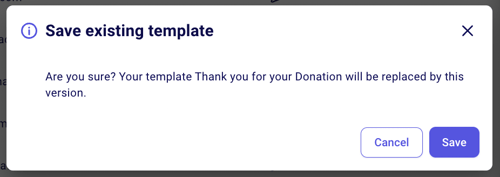
Click Template again and choose Update template.
Confirm to save your changes to the template.
Delete a template
Start a new email and apply the template you want to delete.
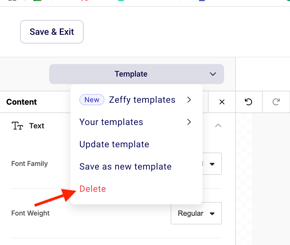
Click Template.
Click the red Delete button.
Confirm to remove the template.
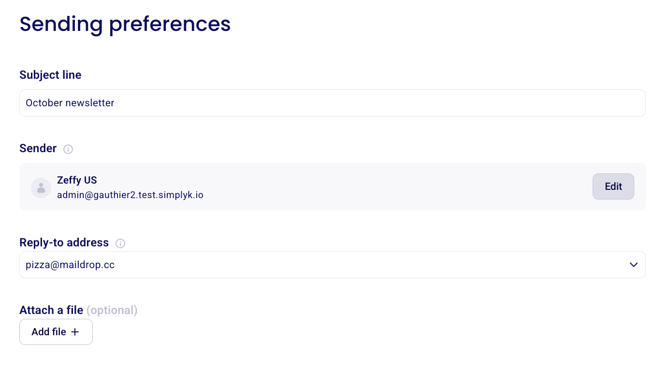
Set subject line and sender details
After designing your email, click Next to configure sending preferences:
Enter a subject line (required).
Edit the sender name if needed.
Select or update the sender email address.
Send emails from your custom domains (see How to customize your email sender domain)
Choose a reply-to address from available account emails.
Attach a file if needed (one file, maximum 20 MB).
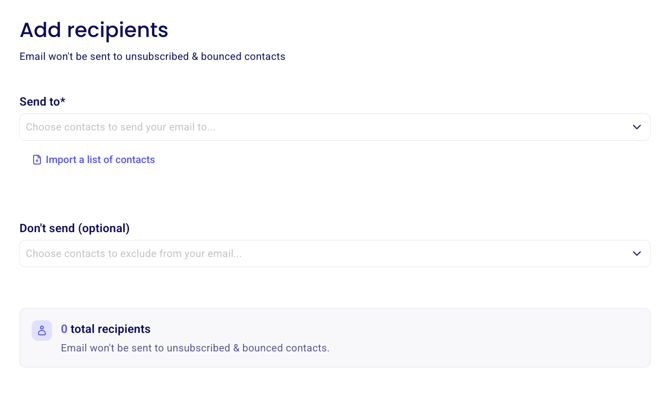
Select recipients
Click Next to choose who receives the email:
Select one or more contact lists:
Zeffy supports up to 11,000 contacts on an email at once
Connect a custom domain to email up to 30,000 contacts at once
Filter your full contact list if needed.
Optionally select lists to exclude from receiving the email.
For more information on contact lists, see Create lists and segments.
Send or schedule your email
After choosing recipients:
Click Next.
Choose one of the following options:
Send immediately — Deliver the email right away
Schedule — Set a specific date and time
Optionally send a test email to yourself or another user with account access.
Click Send now or confirm the scheduled send.
Preview before sending
Click Preview to view the email in desktop and mobile view before you send it.
Pro tips for email design
Save your custom designs as templates for future use.
Keep your layout clean and organized.
Use images thoughtfully to support your message.
Test all interactive elements before sending.
Monitor email performance in the Emails section after sending.
If the email builder in your Zeffy account looks different from the screenshots above, you may be on Zeffy's new version of the builder which is being gradually rolled out. The core features work the same way.
What to do next
When your email is ready, see Send emails to contacts to choose recipients and deliver your message.